
(This updated tutorial also appears in the book Steampunk For Simpletons.)
How to Make a Victorian Cravat

A period necktie is an essential piece
of any steampunk gentleman's wardrobe. Many different styles of tie
were worn during the Victorian period and the terminology can be
confusing because words like "cravat" were used to refer to
different objects in different periods. But the good news is that
it's not difficult to make a simple cravat that can be tied several
ways for different looks. Plus, mine are reversible!
Materials Required:
-About 1/2 yard of
fabric or 1/4 yard of two different complimentary fabrics for a
reversible cravat (I usually use satins and home decor fabrics from
the remnant bin!)
-Matching thread.
-a large piece of
paper for making the pattern
Tools Required:
-Sewing machine
with a straight stitch
-Ruler and pencil
-Measuring tape
Steps:
1. Measure your
neck circumference, or the neck of the intended wearer. Subtract 1/2
inch from this measurement and then divide by two (I will give you
the generic measurements I use in a bit if you want to make something
that should fit most men.)
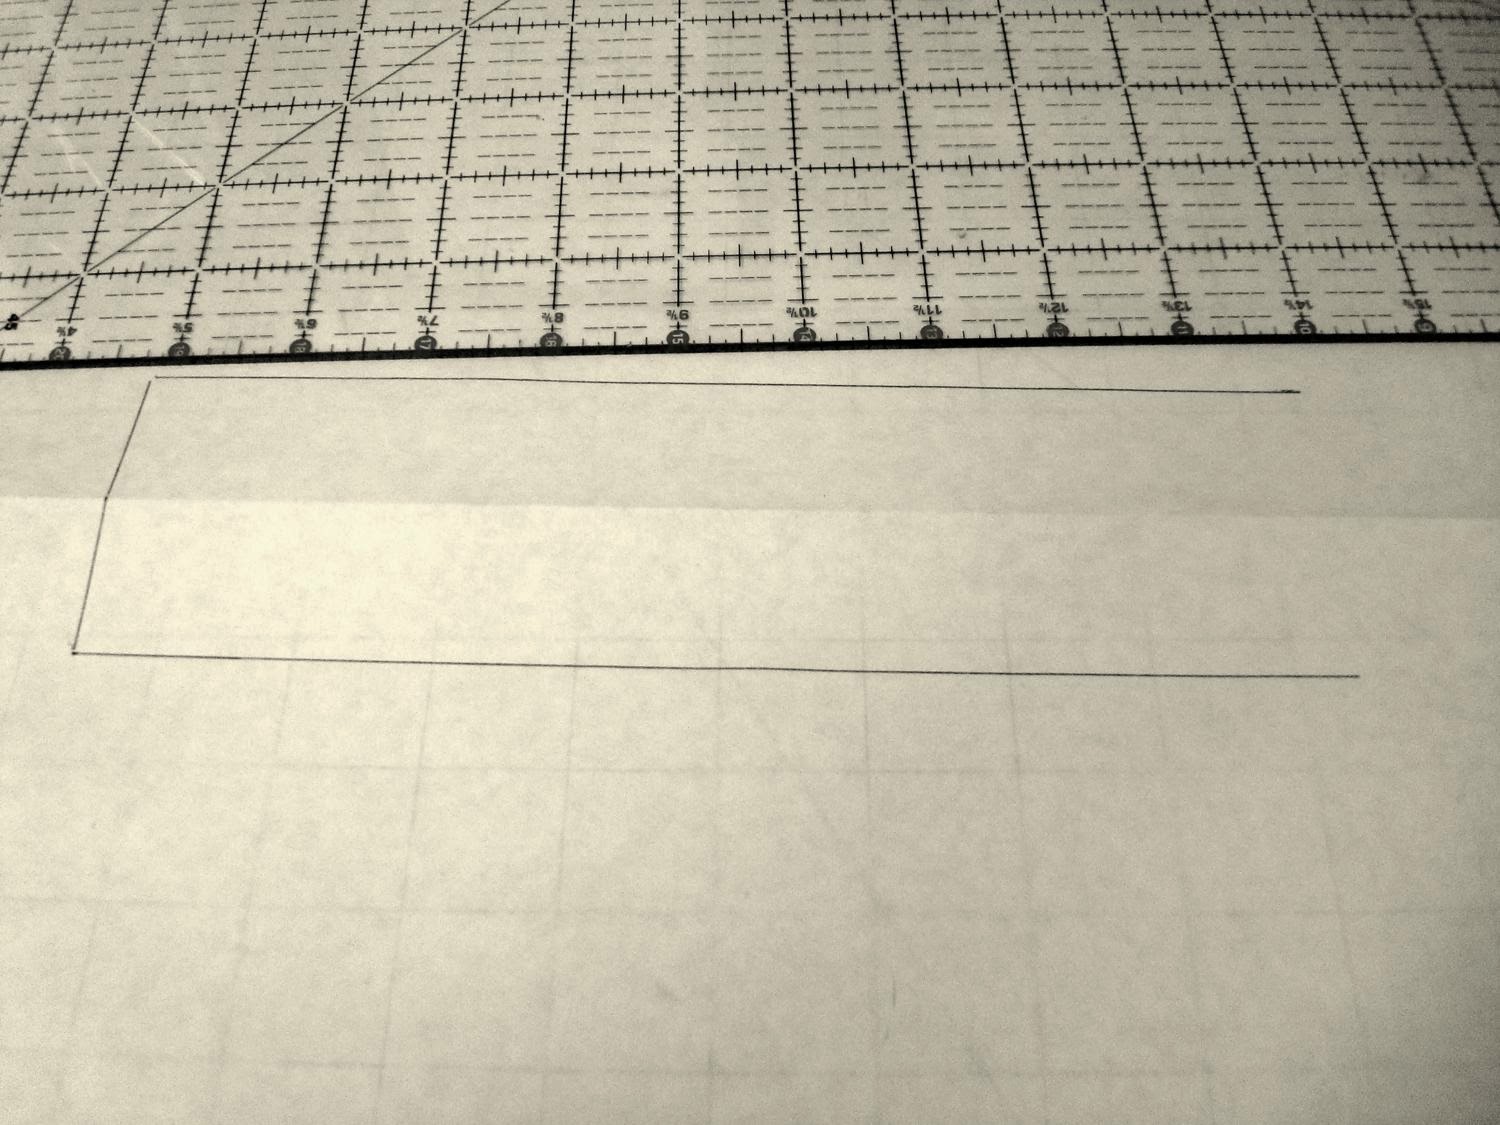
2. Fold your piece
of paper in half horizontally to mark the center of the cravat.
Measure 1 1/4 inch above this fold and draw a line. The length of
this line will be the number you got in part 1. For a One Size Fits
Most cravat, I use 9 inches. Now measure 1 1/4 inch below the fold,
or 2 1/2 inches below your top line and draw your second line.
Connect these two lines with a straight vertical line at the left.
You've drawn the neck of your cravat.

 4. Now connect the
neck lines to the wider lines by drawing in angled diagonal lines
three inches long. Make sure these diagonal lines are the same
length and meet the sides of the wider part of the cravat at the same
point. (You can see I drew a line between the points to make sure
they lined up. Otherwise your cravats will be crooked.)
4. Now connect the
neck lines to the wider lines by drawing in angled diagonal lines
three inches long. Make sure these diagonal lines are the same
length and meet the sides of the wider part of the cravat at the same
point. (You can see I drew a line between the points to make sure
they lined up. Otherwise your cravats will be crooked.)

5. Now measure the
length of the wide part of the cravat. You want to make sure this is
long enough to tie and be able to tuck into your vest. You can
either make the ends of your cravat straight accross or pointed like
a modern tie. It doesn't matter because they will not be seen. If
you want to make it straight to make the sewing easier, measure about
14 inches from the angled corner of the wide part and draw a vertical
line. For a pointed end, I measure 11 inches from the angled corner
I just drew. Make a mark here. Then measure 2 3/4 inches from this
line and mark a point at your fold line. Connect these three points
to make a pointed end to your pattern. And your pattern is finally
done! Cut it out. The hard part is over.

Note that adding a
seam will reduce the length of the neck by the amount you use for
seam allowance, so you may want to add a little bit to your pattern
for this. Whichever way you choose, pin your pattern to your fabric
and cut out your pieces. If you are using two different fabrics for
a reversible cravat, you want to cut either one long folded piece
from each fabric or two halves in each fabric.
 7(a). If you need
to attach your cravat pieces at the back of the neck because your
fabric wasn't wide enough, sew that seam now.
7(a). If you need
to attach your cravat pieces at the back of the neck because your
fabric wasn't wide enough, sew that seam now.
7. Pin your two
cravat sides right sides together. You will be stitching the cravat
and leaving one of the ends unstitched so you can turn it right side
out.


9. Clip the
corners by cutting diagonally across the excess fabric at convex
corners and clipping a triangle of fabric at the inner corner where
the neck meets the wider part. Don't clip too close to your
stitching, however, or you will get a hole!
Now turn the
cravat right side out and press it.


And your cravat is
DONE!

 The
easy way to tie a cravat is to tie it like a normal tie, but instead
of inserting the top flap through the knot at the end, just let it
lay down in front. Instructions for this method can be found here:
http://www.cheap-neckties.com/blog/tying-an-ascot-tie/
The
easy way to tie a cravat is to tie it like a normal tie, but instead
of inserting the top flap through the knot at the end, just let it
lay down in front. Instructions for this method can be found here:
http://www.cheap-neckties.com/blog/tying-an-ascot-tie/
For
alternate ways to tie the cravat, check out this site: http://www.tomsawyerwaistcoats.co.uk/subprod/how-to-tie-a-cravat-0001283.aspx
Thanks for the tutorial! This helped so much.
ReplyDeletedo you find they drape better if cut on a bias?
ReplyDeleteFor those of us who sew, what would be super helpful is to just see your pattern as you've laid it out and the associated measurements on each cut. :)
ReplyDelete